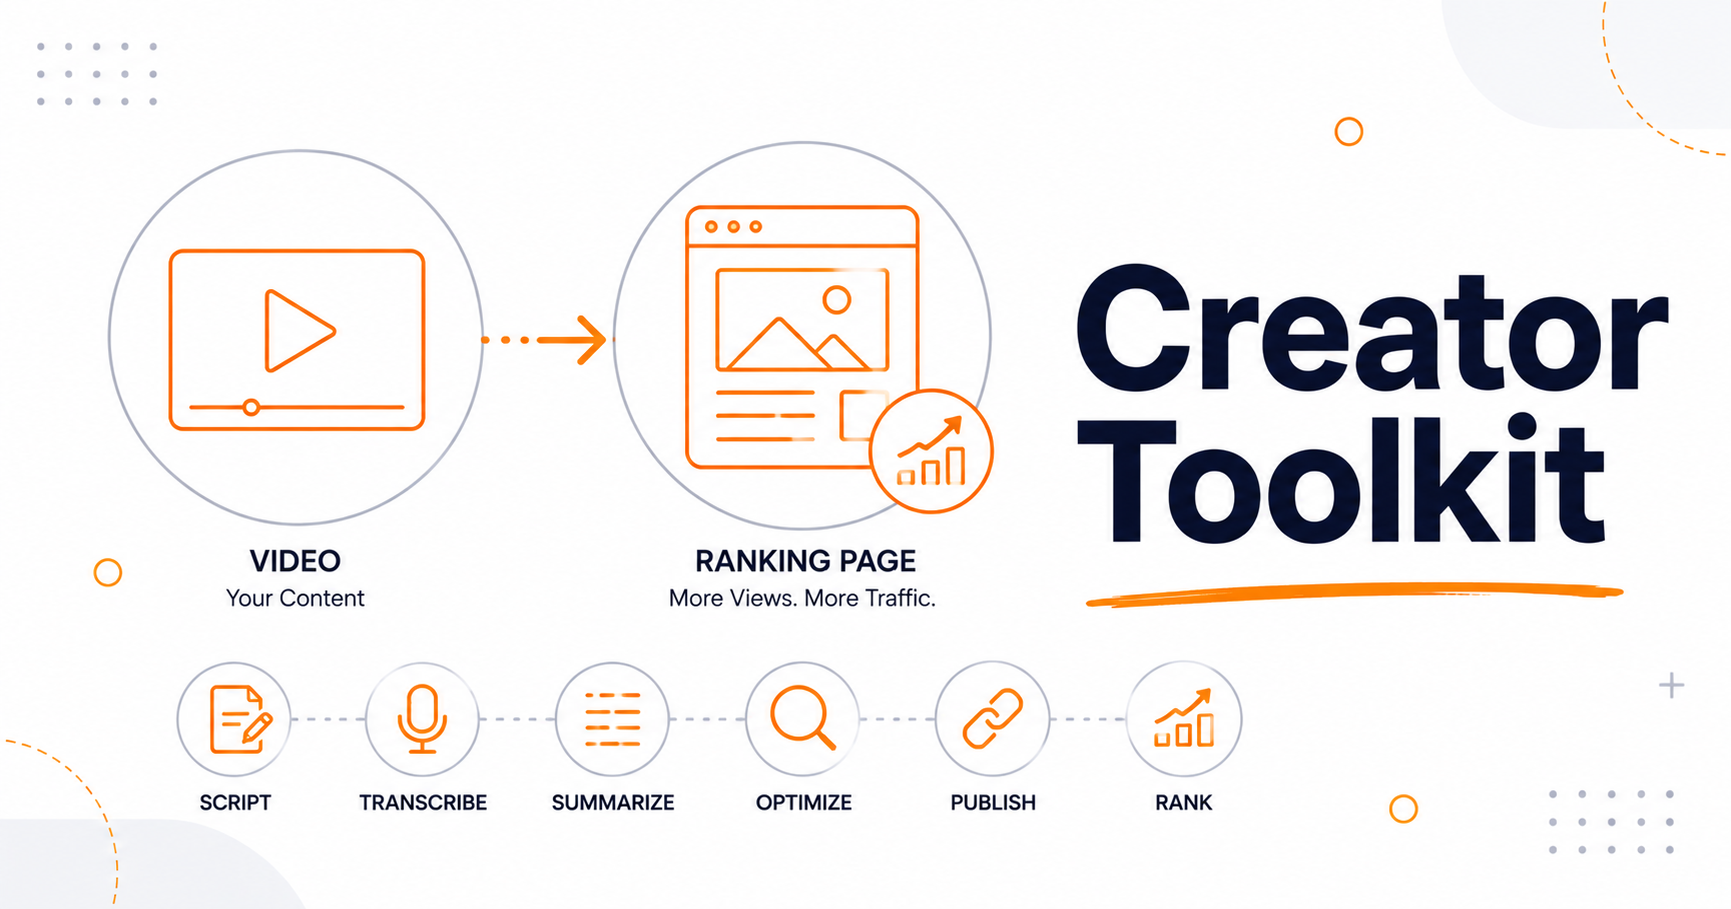
Content Creator Toolkit 2026: Video to Page

Publishing content is never a single job, because it is really a chain of smaller jobs that each demand a different skill. You record something, you pull a few frames out of it, and you turn the talking into readable text. Then you write a title that earns a click on a crowded results page. Finally you confirm that the page loads for a stranger on a train in Manchester or a phone in Seoul.
Most people try to solve that chain with one enormous subscription suite, and I think that approach is backwards. A big suite delivers ninety features you never touch alongside the one feature you use daily, and it charges you for all ninety. A lean content creator toolkit works better. You pick a focused tool for each link in the chain, learn it in about a minute, and move on to the actual work.
Here is the content creator toolkit I would hand a new creator, presented step by step, with the judgement calls that tutorials leave out. Not just which button to press, but how to decide.
Step 1: Capture and save your source video
Everything downstream comes from your source file, and if that source is weak, no editing trick will rescue it later. So the opening move in a content creator toolkit is not really a tool decision. It is a selection decision, and the question is which recording is worth the effort in the first place.
Grab your own uploads with the online video downloader so you have a clean local MP4 to work from, rather than screen recording a player window. A real source file gives you sharp, usable frames. A screen capture just layers fresh compression noise on top of the compression that is already there.
What makes a clip actually reusable
Three things matter, in roughly this order. Audio comes first, because clear speech survives almost any visual flaw. Poor audio ruins an otherwise perfect picture. If you cannot follow the words with your eyes closed, that clip is not a content source. It is only a memory.
Length and shape come second. A tight ten minute talk with a clear argument becomes a good article. A rambling ninety minute webinar with four guests usually does not, because it turns into four weak articles instead of one strong one. On screen text comes third, and it rarely travels well. If a clip only makes sense while a slide is visible, budget time to rebuild that slide as a proper image. You can lift the wording straight out of a frame with the image to text converter instead of retyping a dense table by hand.
The rights question, stated plainly
You can reuse footage you recorded yourself, and you can reuse footage you were licensed to use. You cannot reuse someone else's YouTube video because it was helpful and you credited the creator. A credit line is not a license. Guest appearances, client screens, music beds and stock footage all carry their own terms, and those terms vary by jurisdiction, so what is settled in the United States may not be settled in the European Union or in South Korea. None of this is legal advice, and anything commercially significant is worth putting in front of somebody qualified. My rule of thumb is simple: if you would feel awkward emailing the other person to explain what you did, do not do it.
Step 2: Pull stills and optimize your images
Images are where most pages become slow, and they are also the easiest problem to fix without a developer. In the entire content creator toolkit, this is the single highest return step. It repays the effort on every page you publish afterwards.
Decide the display size before you resize
Here is the mistake I see most often. People resize first and then drop the image into the page to see how it looks. The sensible order is the reverse. Open the page, measure how wide the content column is, and write that number down. That number is a display width, not an export width, and confusing the two is where most of the trouble starts. Most blog layouts display a body image between 700 and 900 pixels wide, a full width hero at around 800 to 1200, and a thumbnail at around 160.
Export at roughly double that width for high resolution screens and then stop, using the image resizer to hit the number. Doubling has a practical ceiling, so treat about 1600 pixels as the widest you ever need for a hero, and do not push past it simply because the arithmetic allows it. Uploading a 4000 pixel camera frame into an 800 pixel slot is the classic trap. The browser shrinks it visually while the visitor still downloads every wasted pixel, and your mobile performance pays the difference.
JPG, PNG, and when each one wins
JPG wins for photographs and video stills, since anything with gradients, skin tones or natural light compresses well and nobody notices the loss. PNG wins for screenshots with text, for logos, for flat color and, above all, for transparency. Convert a heavy photographic PNG using the PNG to JPG converter. You will often cut the file to a fraction of its original weight with no visible difference.
Do not run the reverse conversion by reflex. Turning a JPG into a PNG cannot restore detail that compression already discarded, and it just makes a larger file that looks the same. WebP and AVIF beat both formats on weight, and I use them wherever the platform supports them. They still need a compatibility check on older browsers before you rebuild a whole library around them.
What file weight to target
As a working rule of thumb, keep a body image under roughly 150 KB and a hero image under roughly 300 KB. Those figures are not laws. They are simply the budget I aim for, because a page carrying several images at that weight tends to stay comfortable on a mid range phone over a weak signal. Run the finished files through the image compressor, which takes PNG and JPG uploads, and then judge the result by the file size you get back rather than by how the export felt. If the compressed copy is indistinguishable from the original at half the weight, the compressed copy is the one to publish. For the deeper version of this material, including naming and lazy loading, read the guide on optimizing images for web SEO.
Alt text for a human, not a crawler
Write alt text as though you were describing the image out loud to somebody who cannot see it. A description such as "Bar chart showing email signups doubling after the March redesign" is useful. A string such as "seo tools free seo tools image optimization" is spam, and it hurts the screen reader users the attribute exists to serve. Decorative images can safely take empty alt text, and that is a deliberate feature of the specification rather than laziness.
Step 3: Write, then tighten your copy
A transcript is not a draft, and this is the part people get wrong. Speech is repetitive by design, because listeners cannot scroll backwards, whereas readers can. So a raw transcript on a page reads as bloated and unfocused even when the ideas are excellent.
How to turn a transcript into an article
The writing stage is where a content creator toolkit earns its reputation, and I work through it in four passes. First, read the transcript and mark every place where the speaker begins a new idea. Those marks become your H2 headings. Second, delete every restatement, since anything said twice for emphasis in speech only needs to appear once in text. Third, reorder freely, because spoken talks wander and nobody minds. Written articles cannot afford to. Fourth, write the opening from scratch, as talks usually begin with housekeeping, and housekeeping is death on a page.
Draft in the online text editor so your formatting stays clean, instead of dragging invisible styles out of a word processor and into your CMS. When a paragraph is correct but reads stiffly, the article rewriter can loosen it and hand you a second phrasing to react against. Treat that output as a suggestion rather than a finished sentence. The editorial judgement always stays yours.
Judge length by completeness, not by a target
Length should follow the topic. A question with one real answer needs a short page, while a workflow with five decision points needs a longer one. Writing to an arbitrary number just produces padding, and readers spot it. Check where you landed with the Word Counter. Then ask the only question that matters: did you leave your reader with an unanswered "but how do I decide?" If the answer is yes, you are short, whatever the number reports. If you are unsure how depth should map to topic, the word count guide sets out a sensible way to think about it.
What to cut first
Cut the warm up paragraph, then cut every sentence that only announces what the next sentence will say. Cut hedges such as "arguably" and "it could be argued that", along with adverbs propping up weak verbs. Then split any sentence running beyond roughly 25 words into two. Shorter sentences are not dumbing down. They lower the effort of reading, and lower effort keeps people on the page. Read the finished piece aloud once. Wherever you stumble, your reader will stumble too.
Step 4: Nail your titles and metadata
Your title tag and your H1 look like the same job, but they are not. The H1 sits on the page and speaks to somebody who has already arrived, so it can be warm, playful, even a little vague. The title tag competes inside a list of ten blue links against nine rivals, and it has about two seconds to win. Front load the useful words, put the promise first and leave the brand until last.
Build the whole set with the meta tag generator, which lays out the title, the description, the keywords and the robots directives together, so they stay consistent instead of drifting apart over months of editing. Metadata is the cheapest part of any content creator toolkit and the part most often left on its defaults.
Descriptions that earn the click without over promising
A description has exactly one job, which is to convince the reader that this page answers their exact question. Say what is inside and name the specific thing. "Includes the file size targets I actually use and when JPG beats PNG" beats "Everything you need to know about images". Never promise something the page does not deliver. Over promising buys a single click and then loses the visitor within seconds, which is worse than not ranking at all.
On truncation, work in visible width rather than raw character counts. Roughly 55 to 60 characters for a title and 150 to 155 for a description keeps you safe on most screens. Wide capital letters eat that budget faster than you expect. Put nothing load bearing in the final few words, because those are the words that disappear.
The social preview is a separate job
People treat the search snippet and the social card as one setting, when they are two separate jobs. A link pasted into LinkedIn, Slack, WhatsApp, KakaoTalk or a Discord channel reads your Open Graph tags first, and only falls back to the meta description when those tags are missing. That means a different audience, a different context and a different tone. Set it on purpose with the Open Graph generator and the Twitter card generator. Give the card a wide image with large readable text, because it will often be seen at postage stamp size on a phone. The wider on page routine lives in the on page SEO checklist if you want the full sweep.
Step 5: Check performance before you celebrate
The phrase "it loads fast on my machine" means almost nothing. You are working on a good laptop, on your own connection, with the page already cached, and you know exactly where to look. Your visitor is on a three year old phone, on shared cafe wifi, seeing the layout for the first time. Those are not the same test.
Run a scan with the SEO report tool, which looks at the page from the outside rather than through your own biased impression. Whatever your scan surfaces, these are the five things I would work through in this order, because they are ranked by how much they cost you against how long they take to fix.
- Oversized images. Still the leading cause of a slow page, and the one problem you can fix in ten minutes.
- Layout that jumps. Set explicit width and height on images, so the text does not shift under the reader's thumb while assets are still loading.
- Missing or duplicate titles and descriptions. Cheap to correct one by one, and duplicates quietly damage consistency across a whole site.
- Broken internal links. Every one of them is a dead end that you built yourself.
- Heavy third party embeds. A single chat widget or one auto playing video can undo all of your image optimization.
Check those items before you publish, and monitor everything else afterwards. Rankings, click through rate and Core Web Vitals in Google Search Console all need real traffic and several days of data before they mean anything. Resist the urge to refresh the dashboard an hour after publishing. The Core Web Vitals guide goes through what each of those numbers measures and what tends to move them.
My honest position on the technical side of a content creator toolkit is simple. Fix images, layout shift and obvious metadata problems yourself. Leave server response times, render blocking scripts and caching rules to whoever owns the stack. Chasing a perfect score is a hobby rather than a strategy.
The repurposing loop: five assets from one recording
This is the part that turns a workflow into a system, because one good recording should never produce a single asset. It should produce five. The marginal cost of assets two through five is small once the capture and image stages are done.
- The article. Your transcript, restructured properly, and illustrated with two or three stills from the recording.
- The short clips. Two or three sixty second cuts built around the strongest single point, sized for TikTok, Reels or Shorts.
- The image set. Frames pulled from the video, resized once for the blog and once for social, then reused across every channel you publish on.
- The text post. One argument from the article, rewritten for LinkedIn or a newsletter, where nobody wants to click away.
- The reference page. A checklist or summary that the article links to, which quietly becomes the page people bookmark.
Two rules keep this loop from turning into noise. Do not publish identical words in five places, because search engines and readers both notice, and the weaker copies drag the strong one down. And do not chain the assets so tightly that one late item blocks the others. Ship the article first, then the clips, then the rest.
The biggest time wasters in a content creator toolkit are almost all upstream. Editing footage you will never publish. Perfecting a thumbnail before you know whether the topic lands. Redoing your folder structure instead of writing. Exporting images at full camera resolution because "we might need it later", which is how a media library becomes a liability. Decide what you are making, make it, and then move on.
Why a lightweight content creator toolkit wins
A lean stack beats a heavy suite for reasons that have little to do with price. Focused tools open quickly, do one job and let you leave. There is no project file to manage and no version to keep in sync. When your workflow changes, you replace a single tool instead of migrating a whole environment.
There is also a quieter benefit that nobody advertises. Small tools do not tempt you to fiddle, whereas a large editor invites an hour of color grading on a clip that only needed a trim. Constraint is a real feature. Most creators lose to their own tooling rather than to their competitors.
The honest counterpoint, which I would rather state than have you discover later, is that a lean stack offers no shared asset library and no team permissions. If four people touch the same campaign every week, you will eventually want something heavier. For one person, or a small team publishing a few pieces each week, the light stack wins.
Frequently asked questions
Can I turn a video into a blog post?
Yes, and it is one of the best uses of a recording you already own. Save the source file, transcribe the audio, then restructure the result rather than pasting the raw transcript. Mark each new idea as a heading, delete the repetition that speech needs and text does not, and rewrite the opening from scratch. Add two or three stills so the page is not an unbroken wall of text. Expect the restructuring to take longer than the transcription. That is normal, because it is where the value is created.
Do I need paid software to create content?
No, not to begin, and often not later either. Free tools handle resizing, compression, format conversion, transcript cleanup, metadata and site checks well. That is why a free content creator toolkit is a legitimate starting position rather than a compromise. You typically pay for three things, which are collaboration, storage and advanced video editing. Buy a paid product when one specific bottleneck is costing you hours every week, rather than because a suite looks professional.
How do I make sure my page loads fast?
Start with images, because they cause most slow pages. Resize to the actual display width, compress the result, choose the right format, and set explicit width and height so the layout does not jump. After that, remove or delay heavy third party embeds such as chat widgets and auto playing video. Test on a phone over a normal connection rather than on your own machine. Once the page is live, watch Core Web Vitals in Search Console over a couple of weeks rather than a couple of hours.
What image size should I use for blog images?
Measure the content column first, because every other decision follows from that number. Most blog layouts show body images between 700 and 900 pixels wide, so export at roughly double that for high resolution screens and stop there. Hero images rarely need more than about 1600 pixels once exported, and thumbnails rarely justify more than about 320. Then compress until the file sits under about 150 KB for body images. The exact figures matter far less than the habit of choosing the display resolution before you export.
How long should the article be?
Long enough to answer the question in full, and not one paragraph longer. Length should follow topic complexity rather than a target. A single clear question needs a short page, while a workflow with several decision points needs a longer one. Judge the result by completeness instead of by a number. If a reader could still ask "but how do I decide?", you are not finished. If you are adding sentences that only restate earlier ones, you passed the finish line some time ago.
Can I use a video I did not record myself?
Only with permission, or under a license that clearly allows the use. Crediting the creator is polite, but a credit line is not a license and it is generally no substitute for permission. The same applies to music beds, stock clips, guest appearances and anything showing a client's screen. Most jurisdictions do carve out some room for quotation, commentary or criticism, but the boundaries are narrow and they differ across the United States, Europe and South Korea, with platform terms adding another layer on top. Treat this as orientation rather than legal advice. When you want to reference somebody else's work, embed it or link to it instead of downloading and republishing it. That delivers the value with none of the risk.
Final thoughts
The creators who publish consistently are rarely the ones with the most expensive equipment. They are the ones who removed friction from the boring middle of the process. That means resizing, compressing, converting, tightening copy, setting metadata and checking the page. None of that work is glamorous, and all of it is where good work quietly dies.
Pick one step from this content creator toolkit and make it faster this week. My vote goes to images, because that effort repays you on every page you have already published and every page you publish next. Then you can come back for the next link in the chain. If you want to go deeper on any stage, our roundup of SEO tools and guides is a good place to see what else is available.
Which part of your workflow eats the most time right now? That is the one worth fixing first.