How to Optimize Images for Web & SEO in 2026 (Without Losing Quality)

Images make your pages engaging—and they also make them slow. On most websites, images are the single largest contributor to page weight, which means they directly affect load speed, Core Web Vitals, and ultimately your search rankings. The good news: image optimization is one of the easiest, highest-impact wins in all of SEO, and you don't need expensive software to do it.
This guide walks through exactly how to optimize images for the web in 2026—step by step, without sacrificing visible quality—and pairs each step with a free tool you can use right now.
Why image optimization matters
Optimizing images is not just a "nice to have." It pays off in several measurable ways:
- Faster load times: Smaller images mean pages render quicker, which lowers bounce rates and keeps visitors engaged.
- Better Core Web Vitals: Large images are a common cause of poor Largest Contentful Paint (LCP), a confirmed ranking signal.
- Higher rankings: Speed and user experience feed directly into how Google ranks pages.
- Image search traffic: Well-named, well-described images can rank in image search and bring in extra visitors.
- Lower bandwidth costs: Fewer megabytes served means cheaper hosting and happier mobile users.
Step 1: Choose the right image format
Format is the first and most important decision, because each one is built for a different job:
- JPG: Best for photographs and complex images with many colors. Great compression, small files.
- PNG: Best for graphics, logos, screenshots, and anything needing transparency or sharp edges.
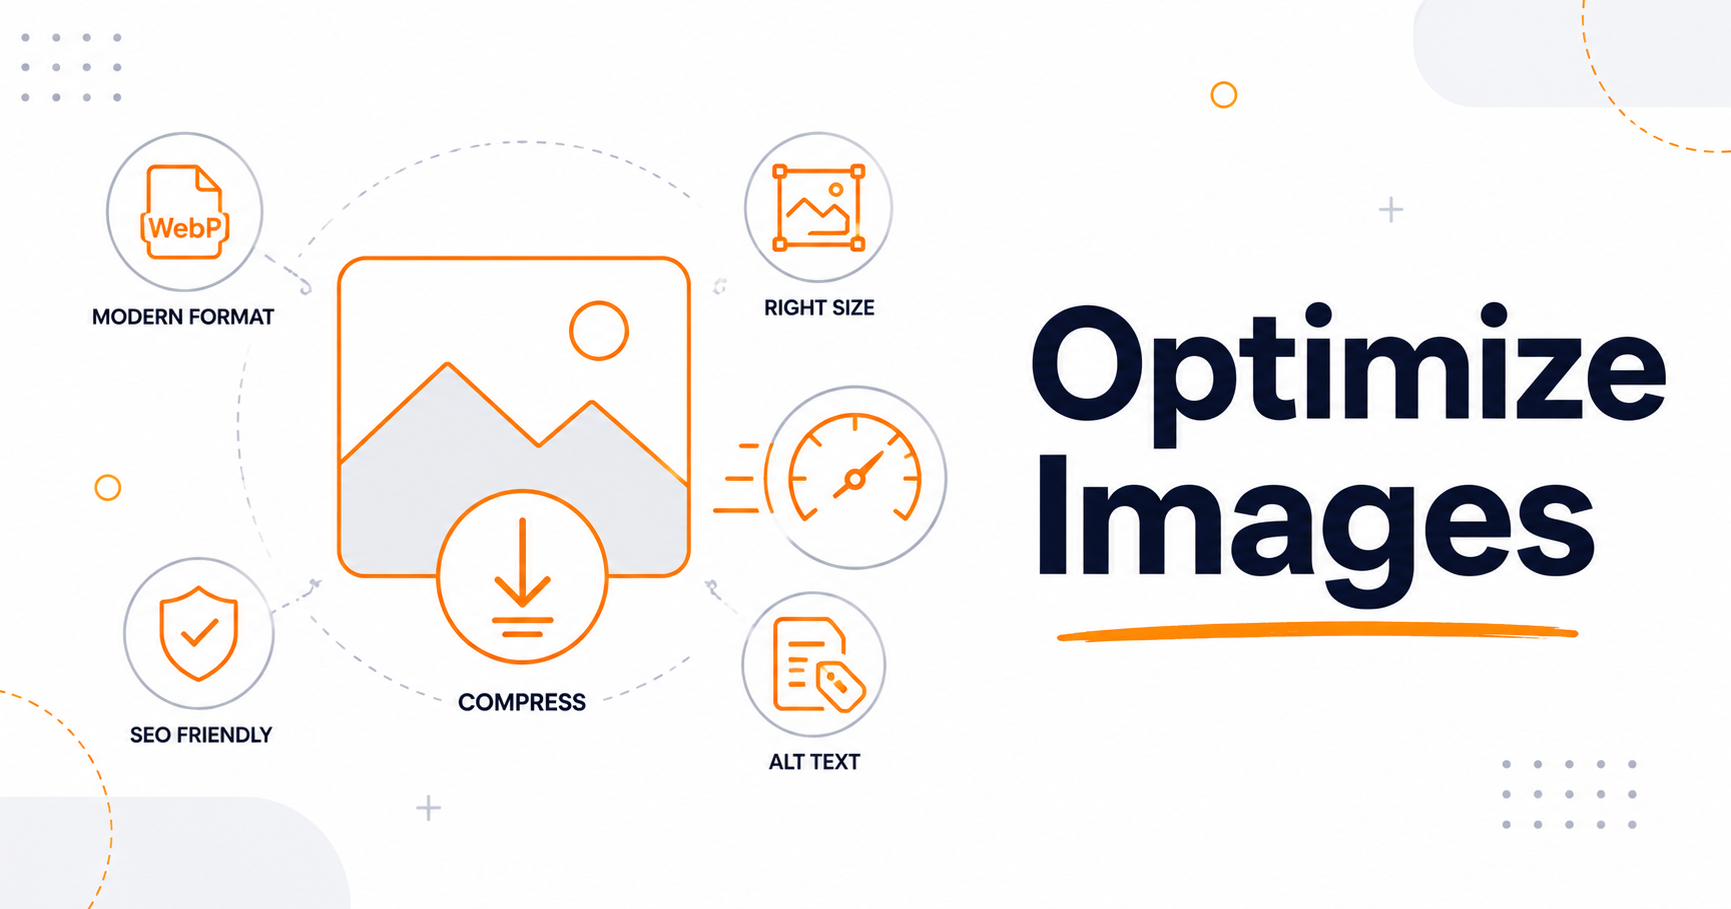
- WebP: A modern format offering smaller files than both JPG and PNG at similar quality—ideal when your platform supports it.
- SVG: Best for icons and simple vector graphics; scales to any size with zero quality loss.
Picked the wrong format earlier? Convert it in seconds. Use our PNG to JPG Converter to shrink heavy graphics into lightweight photos, or the JPG to PNG Converter when you need transparency or crisp edges.
Step 2: Resize images to the dimensions you actually use
This is the mistake almost everyone makes: uploading a 4000-pixel-wide photo straight from a phone or camera into a slot that only displays it at 800 pixels. The browser still downloads the full, enormous file and then shrinks it—wasting bandwidth and slowing the page.
Always resize an image to the largest size it will actually display at (with a little headroom for high-resolution screens). Set exact dimensions quickly with our Image Resizer before you upload.
Step 3: Compress to cut file size without visible quality loss
After resizing, compress. Compression strips out data the human eye won't miss, often reducing file size by 50–80% with no noticeable difference. This single step is usually the biggest speed win on a page.
Run your images through our Image Compressor to shrink them right before publishing. A good rule of thumb: aim to keep most content images under 100–200 KB where you can.
Step 4: Write descriptive filenames and alt text
Optimization isn't only about file size—it's also how search engines understand your images.
- Filenames: Rename files before uploading.
red-leather-handbag.jpgtells search engines far more thanIMG_2207.jpg. - Alt text: Describe what the image shows in plain, natural language. Alt text powers accessibility for screen readers and gives search engines context. Describe—don't keyword-stuff. Our alt text guide shows how to write it.
Done well, this is what earns you traffic from image search, a channel most sites ignore.
Step 5: Use lazy loading and responsive images
Two modern techniques make a big difference:
- Lazy loading defers off-screen images until the user scrolls near them, so the initial page loads faster. In most cases you just add
loading="lazy"to your image tags. Our lazy loading guide explains which images should stay eager. - Responsive images (using
srcset) let the browser pick the right size for each device, so phones don't download desktop-sized files. Our responsive images guide explains srcset, sizes and the picture element.
Together these ensure each visitor downloads only the images—and image sizes—they actually need.
Step 6: Don't forget your favicon
The favicon is the tiny icon next to your page title in browser tabs and many search results. It's small, but it builds brand recognition and trust. Generate a clean, correctly sized set with our Favicon Generator so your site looks polished everywhere it appears.
Step 7: Source images responsibly
Before publishing an image you found online, make sure you're allowed to use it—and check whether it's already plastered across the web (over-used stock imagery does little for your brand). Our Reverse Image Search helps you trace where an image originated and how widely it's used, so you can choose more original, trustworthy visuals.
Step 8: Measure the impact
Optimization only counts if it moves the numbers. After you resize and compress the images on a page, re-test it with our Website SEO Score Checker to confirm faster load times and a healthier score. Image fixes are also Step 9 of our broader on-page SEO checklist—work through that next for the full picture.
Frequently asked questions
What is the best image format for SEO?
There's no single winner—use JPG for photos, PNG for graphics with transparency, and WebP when supported for the smallest files. The "best" format is the one that fits the image type while keeping the file light.
How small should my images be?
There's no fixed rule, but aim to keep most content images under 100–200 KB. Resize to display dimensions first, then compress; together they usually get you there without visible quality loss.
Does alt text really help SEO?
Yes. Alt text improves accessibility and helps search engines understand your images, which can earn you image-search traffic. Keep it descriptive and natural rather than stuffed with keywords.
Will compressing images make them look bad?
Done correctly, no. Modern compression removes data the eye can't detect, so a well-compressed image looks virtually identical at a fraction of the file size.
Final thoughts
Image optimization is rare in SEO: it's quick, it's free, and it delivers results you can measure the same day. Pick the right format, resize to real dimensions, compress hard, and describe every image clearly. Do that consistently and your pages will load faster, rank better, and feel more professional—without ever looking lower quality. For more high-impact, no-cost wins, explore our full set of SEO tools and guides.